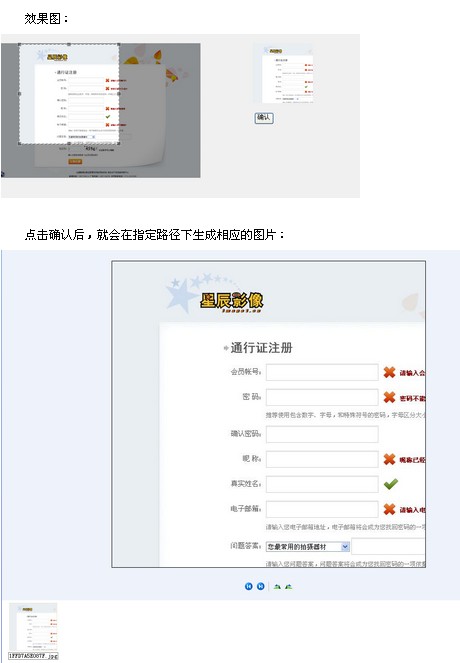
jQuery jcrop插件截图使用方法
在后台来进行图片切割。
头像截取的原理:在前台使用jcrop获取切面的x轴坐标、y轴坐标、切面高度、切面宽度,然后将这四个值传给后
台。在后台要进行放大处理:将切面放大N倍,N=原图/前台展示的头像。即X = X*原图宽/前图宽,Y = Y*原图高/前
图高,W = W*原图宽/前图宽,H = H*原图高/前图高。
实例:
JSP:
<div id="cutImage" style="display: none;">
<div class="bigImg" style="float: left;">
<img id="srcImg" src="" width="400px" height="270px"/>
</div>
<div id="preview_box" class="previewImg">
<img id="previewImg" src="" width="120px"/>
</div>
<div >
<form action="" method="post" id="crop_form">
<input type="hidden" id="bigImage" name="bigImage"/>
<input type="hidden" id="x" name="x" />
<input type="hidden" id="y" name="y" />
<input type="hidden" id="w" name="w" />
<input type="hidden" id="h" name="h" />
<P><input type="button" value="确认" id="crop_submit"/></P>
</form>
</div>
</div>
样式:大图、小图展示都需要固定高度、宽度,因为后台需要进行放大处理。即:<img width=""height=""/>
然后是使用jcrop了。在使用jcrop前我们需要下载jcrop:http://deepliquid.com/content/Jcrop.html。
将下载的压缩包解压后可以看到三个文件夹及一个index.html文件,/ css下放置的是Jcorp的样式文件,/demo下放置的是几个简单的例子(index.html中引用的链接就是放置在这个文件夹下),/js下放置的是Jcorp中最重要的脚本文件。我们只需要使用三个文件即可:jquery.Jcrop.css、jquery.Jcrop.js、JQuery.js
使用方法:
//裁剪图像
function cutImage(){
$("#srcImg").Jcrop( {
aspectRatio : 1,
onChange : showCoords,
onSelect : showCoords,
minSize :[200,200]
});
//简单的事件处理程序,响应自onChange,onSelect事件,按照上面的Jcrop调用
function showCoords(obj) {
$("#x").val(obj.x);
$("#y").val(obj.y);
$("#w").val(obj.w);
$("#h").val(obj.h);
if (parseInt(obj.w) > 0) {
//计算预览区域图片缩放的比例,通过计算显示区域的宽度(与高度)与剪裁的宽度(与高度)之比得到
var rx = $("#preview_box").width() / obj.w;
var ry = $("#preview_box").height() / obj.h;
//通过比例值控制图片的样式与显示
$("#previewImg").css( {
width : Math.round(rx * $("#srcImg").width()) + "px", //预览图片宽度为计算比例值与原图片宽度的乘积
height : Math.round(rx * $("#srcImg").height()) + "px", //预览图片高度为计算比例值与原图片高度的乘积
marginLeft : "-" + Math.round(rx * obj.x) + "px",
marginTop : "-" + Math.round(ry * obj.y) + "px"
});
}
}
}
在使用jcrop前一定要先将$(“”).jcrop();进行预初始化,否则没有效果。
还有一种调用的方法,
var api = $.Jcrop('#cropbox',{
onChange: showPreview,
onSelect: showPreview,
aspectRatio: 1
});
这种方法是将Jcrop生成的对象赋给一个全局变量,这样操作就会比较方便。
通过上面的js,就将X轴坐标、Y轴坐标、高度H、宽度W这个四个值传递给后台了,后台就只需要根据这四个值
进行放大处理,然后切割即可。
Action
/**
* 裁剪头像
*/
public String cutImage(){
/*
* 获取参数
* x,y,w,h,bigImage
*/
HttpServletRequest request = (HttpServletRequest) ActionContext.getContext().get(ServletActionContext.HTTP_REQUEST);
int x = Integer.valueOf(request.getParameter("x"));
int y = Integer.valueOf(request.getParameter("y"));
int w = Integer.valueOf(request.getParameter("w"));
int h = Integer.valueOf(request.getParameter("h"));
String bigImage = request.getParameter("bigImage");
//获取文件真实路径
//获取文件名
String[] imageNameS = bigImage.split("/");
String imageName = imageNameS[imageNameS.length-1];
//文件正式路径
String imagePath = getSavePath()+"\\"+imageName;
//切割图片
ImageCut imageCut = new ImageCut();
imageCut.cutImage(imagePath, x, y, w, h);
//头像裁剪完成后,将图片路径保存到用户
UserBean userBean = (UserBean) request.getSession().getAttribute("userBean");
userBean.setUserPhoto(bigImage);
//保存头像
UserCenterService centerService = new UserCenterService();
centerService.updatePhoto(userBean);
//将修改后的用户保存到session中
request.getSession().setAttribute("userBean", userBean);
return "updatePhoto";
}
}
裁剪图片工具类:ImageCut.java
public class ImageCut {
/**
* 图片切割
* @param imagePath 原图地址
* @param x 目标切片坐标 X轴起点
* @param y 目标切片坐标 Y轴起点
* @param w 目标切片 宽度
* @param h 目标切片 高度
*/
public void cutImage(String imagePath, int x ,int y ,int w,int h){
try {
Image img;
ImageFilter cropFilter;
// 读取源图像
BufferedImage bi = ImageIO.read(new File(imagePath));
int srcWidth = bi.getWidth(); // 源图宽度
int srcHeight = bi.getHeight(); // 源图高度
//若原图大小大于切片大小,则进行切割
if (srcWidth >= w && srcHeight >= h) {
Image image = bi.getScaledInstance(srcWidth, srcHeight,Image.SCALE_DEFAULT);
int x1 = x*srcWidth/400;
int y1 = y*srcHeight/270;
int w1 = w*srcWidth/400;
int h1 = h*srcHeight/270;
cropFilter = new CropImageFilter(x1, y1, w1, h1);
img = Toolkit.getDefaultToolkit().createImage(new FilteredImageSource(image.getSource(), cropFilter));
BufferedImage tag = new BufferedImage(w1, h1,BufferedImage.TYPE_INT_RGB);
Graphics g = tag.getGraphics();
g.drawImage(img, 0, 0, null); // 绘制缩小后的图
g.dispose();
// 输出为文件
ImageIO.write(tag, "JPEG", new File(imagePath));
}
} catch (IOException e) {
e.printStackTrace();
}
}
}